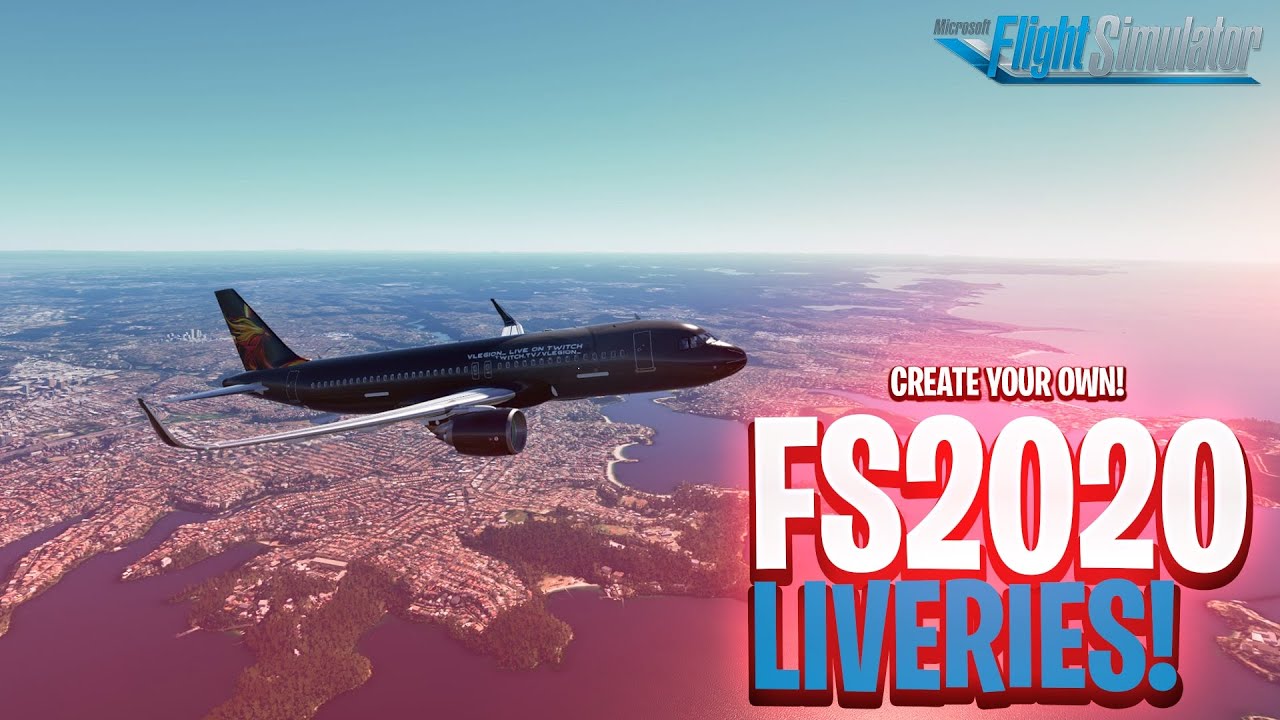
Microsoft Flight Simulator 2020 (MSFS 2020) offers a breathtakingly realistic aviation experience, allowing players to soar through the skies in beautifully rendered aircraft. One way to enhance this experience is by adding custom liveries to your planes. Whether you want to fly a commercial airliner with your favorite airline’s colors or a vintage aircraft with a unique paint scheme, adding liveries can personalize your flying experience. Here’s how to do it:
Step 1: Find a Livery
The first step is to find a livery that you want to add to your aircraft. There are several websites and online communities where flight sim enthusiasts share their creations. Websites like flightsim.to and Avsim.com host a wide range of liveries created by the community. You can browse through these websites to find liveries for various aircraft models.
Step 2: Download the Livery
Once you’ve found a livery you like, download it to your computer. Most liveries are distributed as zip files containing texture files (.dds) and a configuration file (.cfg) that tells the simulator how to apply the livery to the aircraft.
Step 3: Locate the Aircraft Folder
Next, you’ll need to locate the folder where the aircraft you want to add the livery to is stored. In MSFS 2020, aircraft are stored in the “Community” folder within the game’s directory on your computer. The default path is usually something like: C:\Users\YourUserName\AppData\Local\Packages\Microsoft.FlightSimulator_8wekyb3d8bbwe\LocalCache\Packages\Community
Step 4: Install the Livery
Once you’ve found the aircraft folder, open it and look for a folder named after the aircraft model you want to modify. Inside this folder, you’ll find a “SimObjects” folder, and within that, a “Airplanes” folder. Inside the “Airplanes” folder, locate the folder corresponding to the specific aircraft variant you want to add the livery to (e.g., A320neo, Cessna 172).
Step 5: Copy the Livery Files
Copy the texture files (.dds) and the configuration file (.cfg) from the downloaded livery into the “Texture” folder of the aircraft variant folder you located in the previous step. Make sure to overwrite any existing files if prompted.
Step 6: Launch Microsoft Flight Simulator 2020
Once you’ve copied the livery files into the correct folder, launch MSFS 2020. When you select the aircraft you modified, you should see the new livery applied to it in the aircraft selection menu.
Step 7: Enjoy Your Custom Livery
That’s it! You’ve successfully added a custom livery to your aircraft in Microsoft Flight Simulator 2020. Now you can take to the skies in style and enjoy your personalized flying experience.
Adding custom liveries is a great way to express your creativity and make your flights in MSFS 2020 even more immersive. With a wide range of liveries available online, the possibilities are endless for customizing your aircraft to suit your preferences and style. Happy flying!